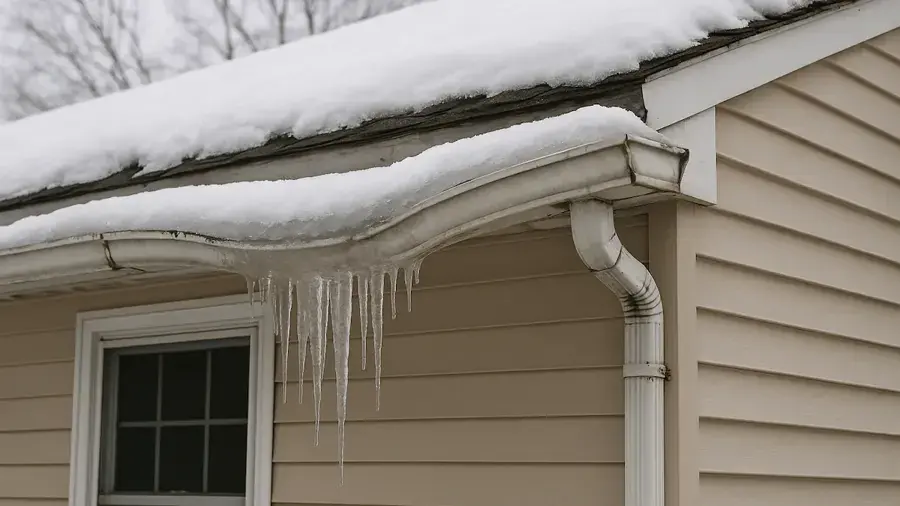
First steps for ice dam and roof leak water damage in Anoka
- 1
Catch the drips
Set buckets and towels under drips and move furniture and electronics out from under the stained area.
- 2
Stay off the roof
Do not climb onto an icy roof or chip at an ice dam with a hammer or shovel. A roof rake used from the ground is the safer tool.
- 3
Switch off wet fixtures
Turn off ceiling lights and fans in a wet ceiling at the panel, if the panel sits in a dry spot.
- 4
Photograph inside and out
Photograph the stains, the wet walls and the icicles along the eaves. The claim file needs both sides.
After a heavy Anoka snow, heat escaping from the living space warms the roof deck, the snow melts, and the water refreezes at the cold eaves. That ridge of ice is an ice dam. Meltwater pools behind it, works under the shingles and drips through the roof deck into the attic, where it soaks insulation and runs down into walls and top-floor ceilings.
What does ice dam and roof leak water damage cost in Anoka, MN?
Ice dam and roof leak water damage in Anoka typically runs $1,000 to $6,500. One stained ceiling sits at the low end; wet attic insulation plus soaked exterior walls on a whole side of the house costs more.
One ceiling area
$1,000 to $2,500
- A stain near one exterior wall
- Small opening and drying
- Moisture readings for the file
Attic and ceilings
$2,500 to $6,500
- Wet insulation removed
- Several ceilings dried
- Upper-floor dehumidification
Walls and ceilings
$6,500 and up
- Water inside exterior walls
- Drywall and insulation out
- Extended structural drying
Ranges are typical, not a quote: the water category, square footage, material class and how fast drying started move the number most. Run the Anoka water damage cost calculator for a closer range.
How ice dams turn into ceiling and wall leaks
Ice dam leaks usually show up during a thaw or on a sunny winter afternoon, when the snow above the warm part of the roof melts fastest. The signs inside the house sit along the exterior walls:
- Brown stains where the ceiling meets an outside wall
- Peeling paint or bubbling drywall tape near the top of a wall
- Damp or dripping window trim on the upper floor
- Heavy icicles hanging along the gutters and eaves
By the time a stain shows, the insulation above it has usually been wet for a while.
Drying the attic, walls and ceilings
Wet attic insulation holds water against the drywall and loses most of its insulating value, so the restoration team removes what is soaked rather than waiting for it to dry. The tech who does the walkthrough checks the ceiling and the wall cavities along the eaves with a thermal camera and moisture meters, because water from an ice dam often runs down inside an exterior wall.
Sagging ceiling drywall gets opened in a controlled way, wall cavities that took water get opened low and dried with air movers, and an LGR dehumidifier keeps the upper floor dry while the work runs. A ceiling stain under an upstairs bathroom is a plumbing leak instead, handled on the burst pipe water damage page.
Roof leaks that are not ice dams
Summer storms bring their own roof leaks: hail that cracks shingles, wind that lifts tabs, and flashing that fails at chimneys, vents and skylights. The interior work is the same: find every wet layer, remove what cannot dry, and dry the framing and drywall to readings. A roofer repairs the roof itself, and the photos and moisture map from the walkthrough go to both the roofer and the claim file.
Stopping the next ice dam
Ice dams are a heat problem more than a roof problem. Air sealing and more insulation at the attic floor keep heat out of the attic, good ventilation keeps the roof deck cold, and a roof rake used from the ground pulls snow off the eaves after a big storm.
The Department of Energy's Energy Saver pages cover air sealing and attic insulation, and the National Weather Service cold-weather safety page covers getting a home ready before the next deep freeze.