First steps for burst pipe water damage in Anoka
- 1
Shut the main valve
Turn the water off at the main, usually in the basement near the meter, and open a low faucet to drain the pipes.
- 2
Kill power to wet fixtures
Switch off lights and outlets in a wet ceiling or wall at the panel, if the panel sits in a dry spot.
- 3
Stay out from under a sag
Keep clear of any ceiling that bulges with water, and set a bucket where it drips.
- 4
Photograph the source
Photograph the failed pipe or fitting, the wet areas and damaged belongings before the plumber repairs anything.
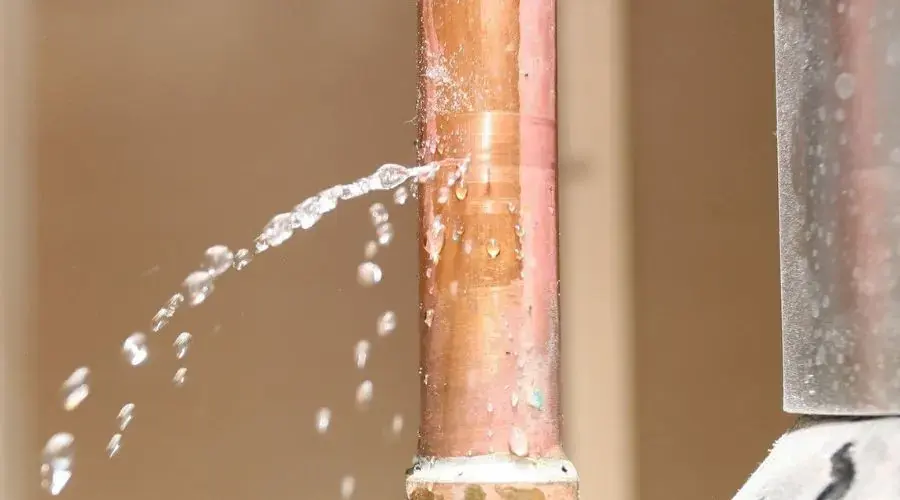
Burst pipe damage in Anoka is not only a winter problem. Supply pipes fail in every season from age, corrosion, water pressure and failed fittings, and the water goes wherever gravity takes it: down the wall cavity, across the subfloor and through the ceiling into the basement. The drying team follows that path before anything gets opened.
What does burst pipe water damage cost in Anoka, MN?
Burst pipe water damage in Anoka typically runs $1,300 to $7,500. A leak caught fast in one wall sits at the low end; a pipe that ran through a ceiling into a finished basement costs more.
One wall or room
$1,300 to $3,000
- Leak found and stopped fast
- Small opening, extraction
- Clean, Category 1 water
Ceiling and floor below
$3,000 to $7,500
- Water ran through two levels
- Ceiling and lower drywall opened
- Drying on both floors
Long-running leak
$7,500 and up
- Water sat for days
- Category 2 handling, more removal
- Extended structural drying
Ranges are typical, not a quote: the water category, square footage, material class and how fast drying started move the number most. Run the Anoka water damage cost calculator for a closer range.
What fails in Anoka plumbing
About a quarter of Anoka homes predate 1960, and the median home dates to 1973, so the plumbing in town spans several generations. Each one fails in its own way:
- Galvanized steel supply pipe in older homes that rusts from the inside and leaks at the threads
- Copper that develops pinholes or gives way at an old solder joint
- Polybutylene supply pipe from the late 1970s into the 1990s, known for brittle fittings
- Braided supply hoses under sinks and toilets, and push-fit connectors in newer work
Tracing the water through walls and ceilings
A pipe that lets go inside a wall can run for a long time before anyone sees it. Water rides along studs and joists, so a leak in an upstairs bathroom often shows up as a stain or a sag in the ceiling below, not under the fixture. The tech who does the walkthrough maps it with thermal imaging and pin and pinless moisture meters.
A ceiling holding water is a hazard. Stay out from under a sagging spot, keep the light fixture in it switched off, and let the crew open the drywall in a controlled way so the water drains into a container instead of onto the floor.
Why fast drying keeps the water clean
Water from a supply pipe starts as Category 1, clean water. When it sits for a day or two, or runs through dirty materials on its way down, it can shift to Category 2, and then pad and more drywall have to come out. Mold can also start within 24 to 48 hours on wet drywall and wood.
That is why extraction comes first and drying starts the same visit. The water extraction step pulls the bulk of the water, and air movers and LGR dehumidifiers dry the cavities to readings.
Burst pipe, frozen pipe or slow leak?
A split from a hard freeze belongs on the frozen pipe water damage page, and leaks from a washer, dishwasher or softener sit on the appliance and water softener leaks page. The difference matters for the claim: most policies treat a sudden failure differently from a slow leak that ran for weeks.
The EPA WaterSense Fix a Leak program covers spotting hidden leaks with the water meter, and the Minnesota Commerce Department explains how homeowners claims work in the state.